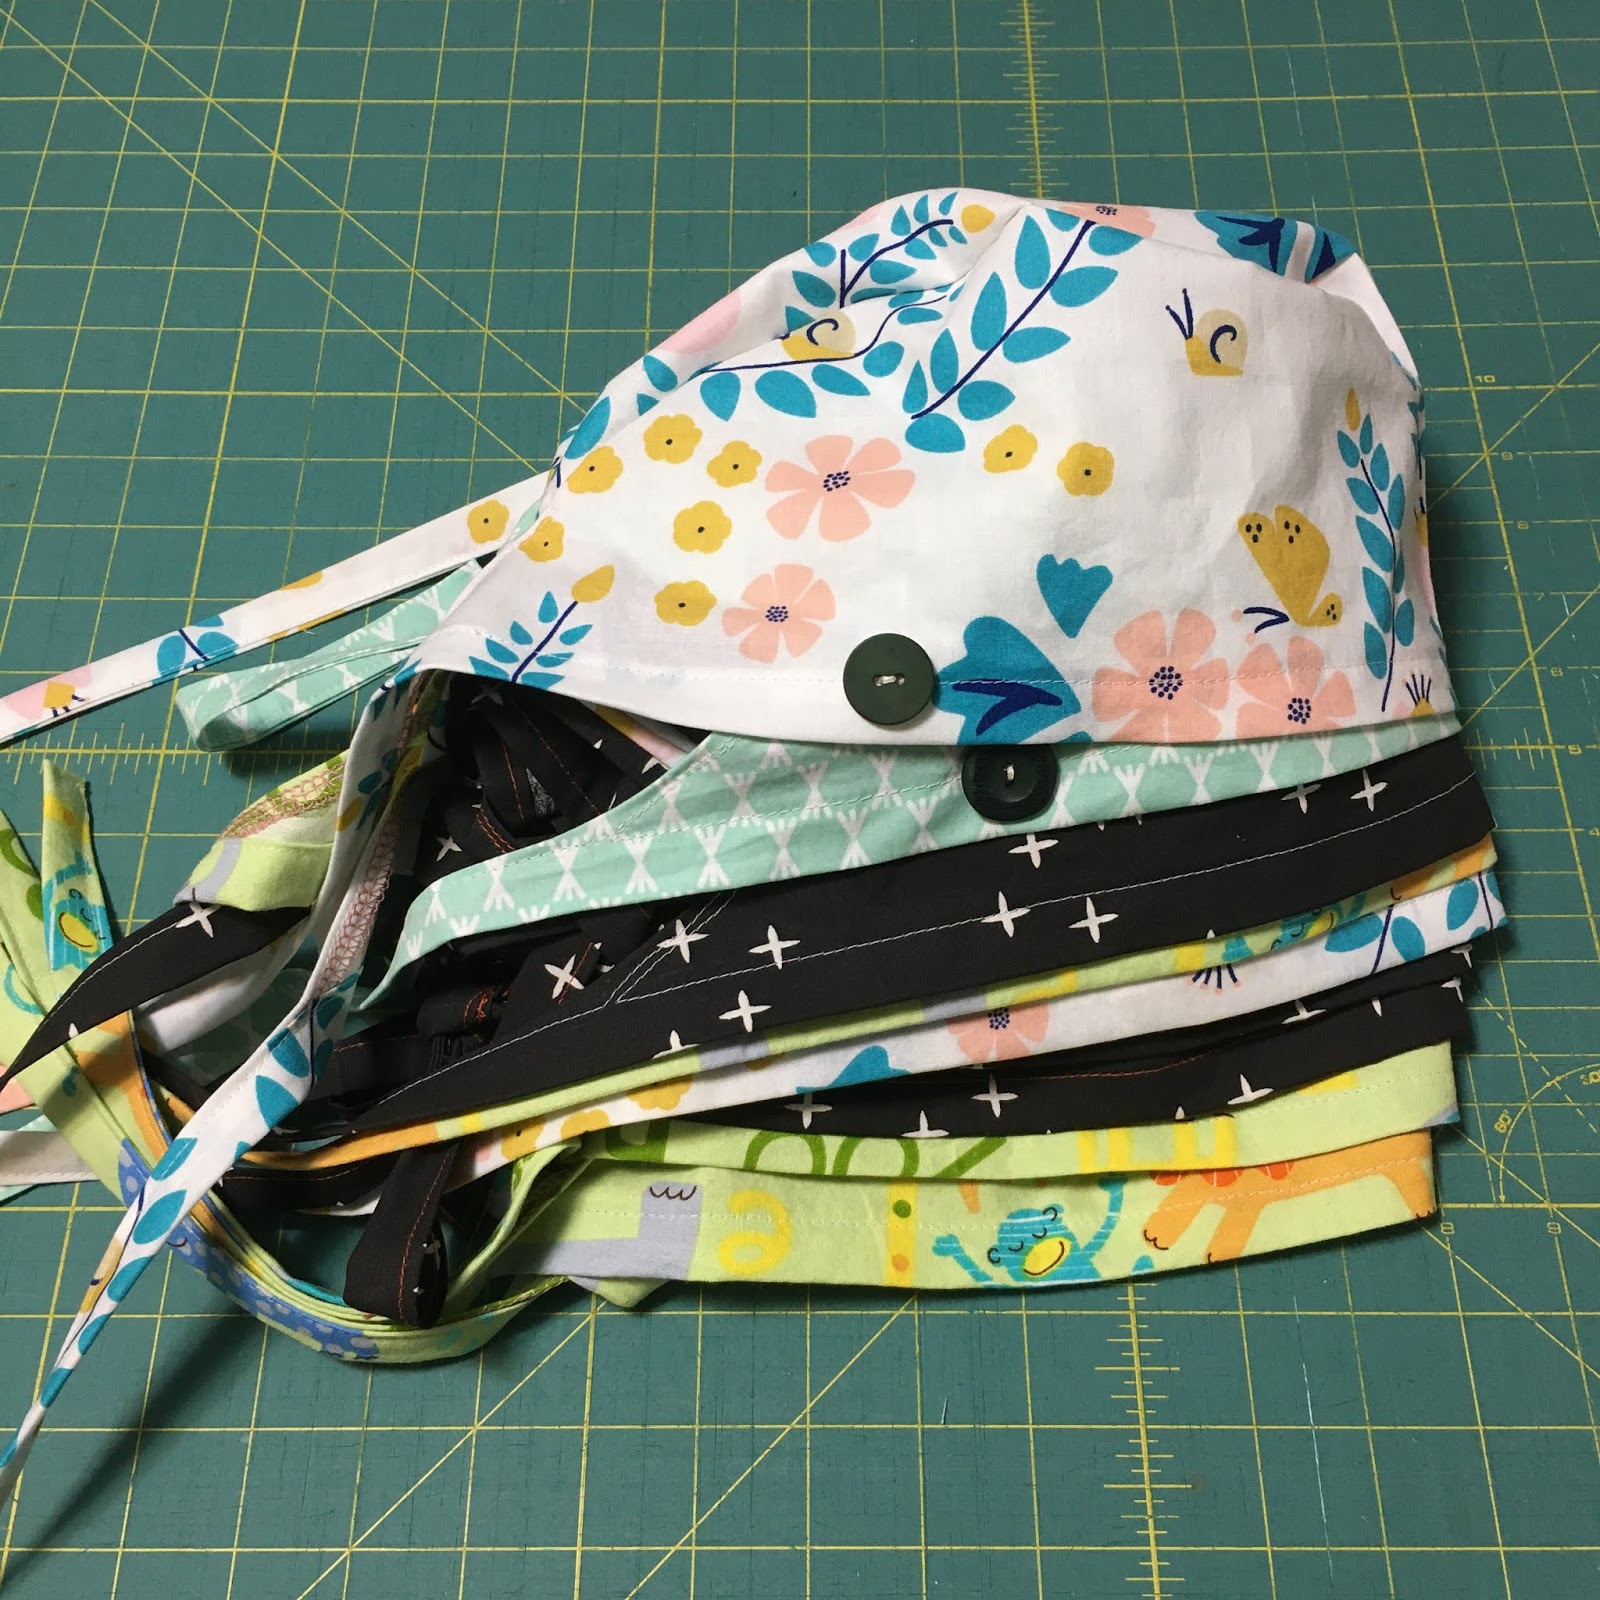
My most-viewed tutorial is my Surgical Cap Tutorial. I made it super quickly with the help of my partner (editor and iPad holder extraordinaire) in the early days of the Covid19 pandemic, when we were all stuck at home feeling helpless. A group of local sewists started to organize on Facebook to respond to the request from Guelph General Hospital for masks and scrub caps - but we didn't have any good instructions for sewing them. So in March 2020 I whipped up a quick video meant for about 14 local sewists, uploaded it to YouTube, and unknowingly helped tens of thousands of people sew their own caps for family, friends, and to donate to front line healthcare workers.
I've since rebranded and launched my teaching and textile business, gather + make, so the pattern and detailed instructions have moved from my old website (www.twelvebees.ca) to their new home here.
You'll need:
- PRINTABLE SURGICAL CAP PATTERN (Click to download - print at 100% scale)
- *If you don't have access to a printer, I have added a scale diagram of the pattern below, which will help you to draw the pattern out yourself.
- Quilting cotton - about 1/3 metre (13") x width of fabric (44"- 45") (pre-washed and dried)
- Coordinating thread
- Two buttons (optional)
- 1/4" elastic - 3" (optional)
- Straight pins, fabric scissors or rotary cutter and mat
- Sewing machine
- Iron

Watch my YouTube tutorial above, or follow these instructions:
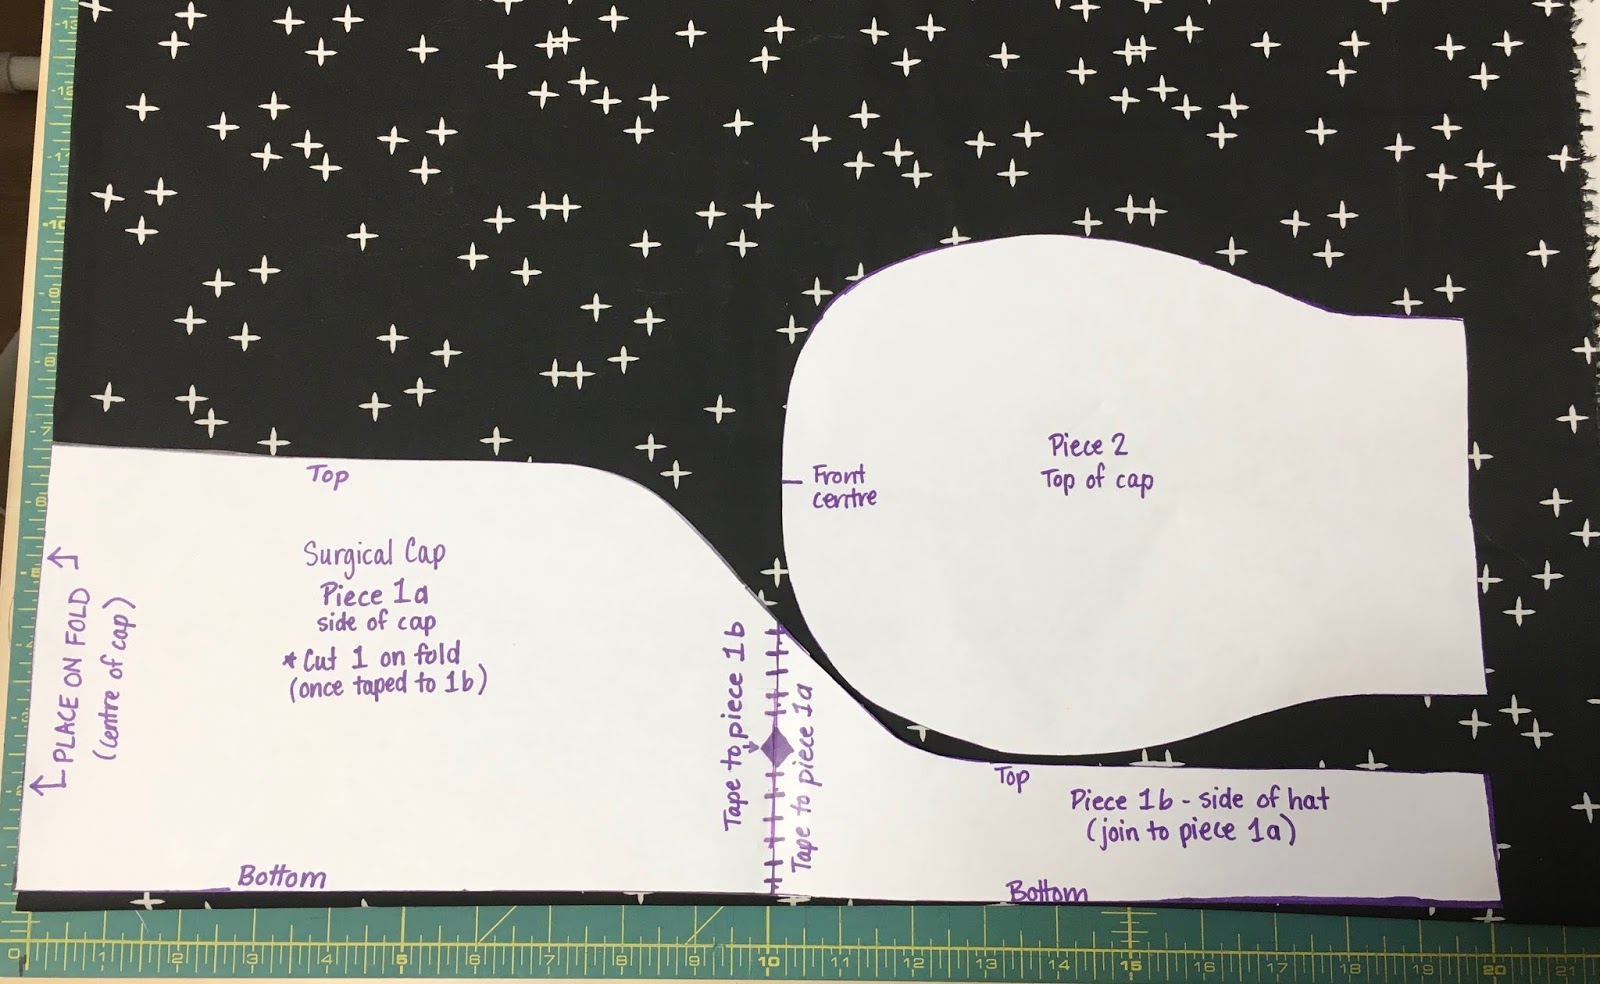
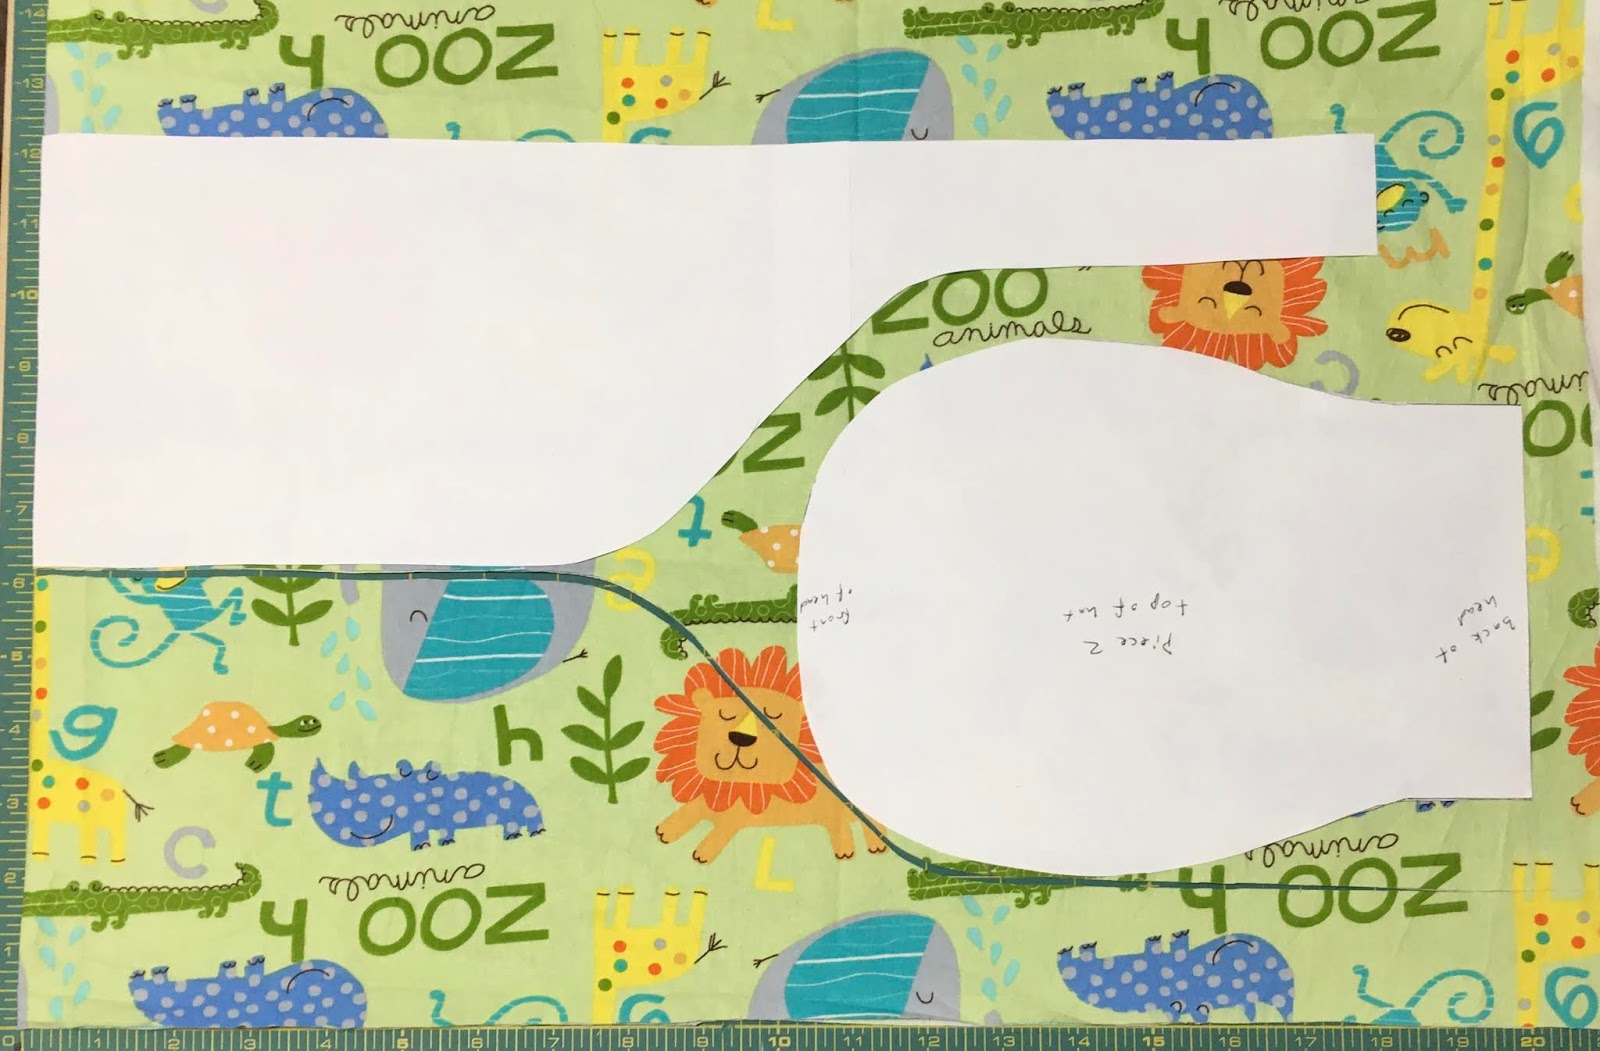
- After printing or drawing your pattern, cut out the pattern pieces and tape Piece 1a and 1b together where indicated. Be sure to pre-wash and dry your fabric! This ensures your cap won't shrink the first time it's washed. Give your fabric a quick press to remove wrinkles, then fold in half so the selvedges meet. Lay out pattern pieces (being sure to place Piece 1 on the fold), and cut.

-
If you cut with your fabric doubled (like on the black fabric, above), you will get one side piece and two top pieces. In order to cut two caps at once, just flip your side piece up and cut a second side piece (like on the green fabric, below). This lets you make two caps out of about 1/3 m of fabric.

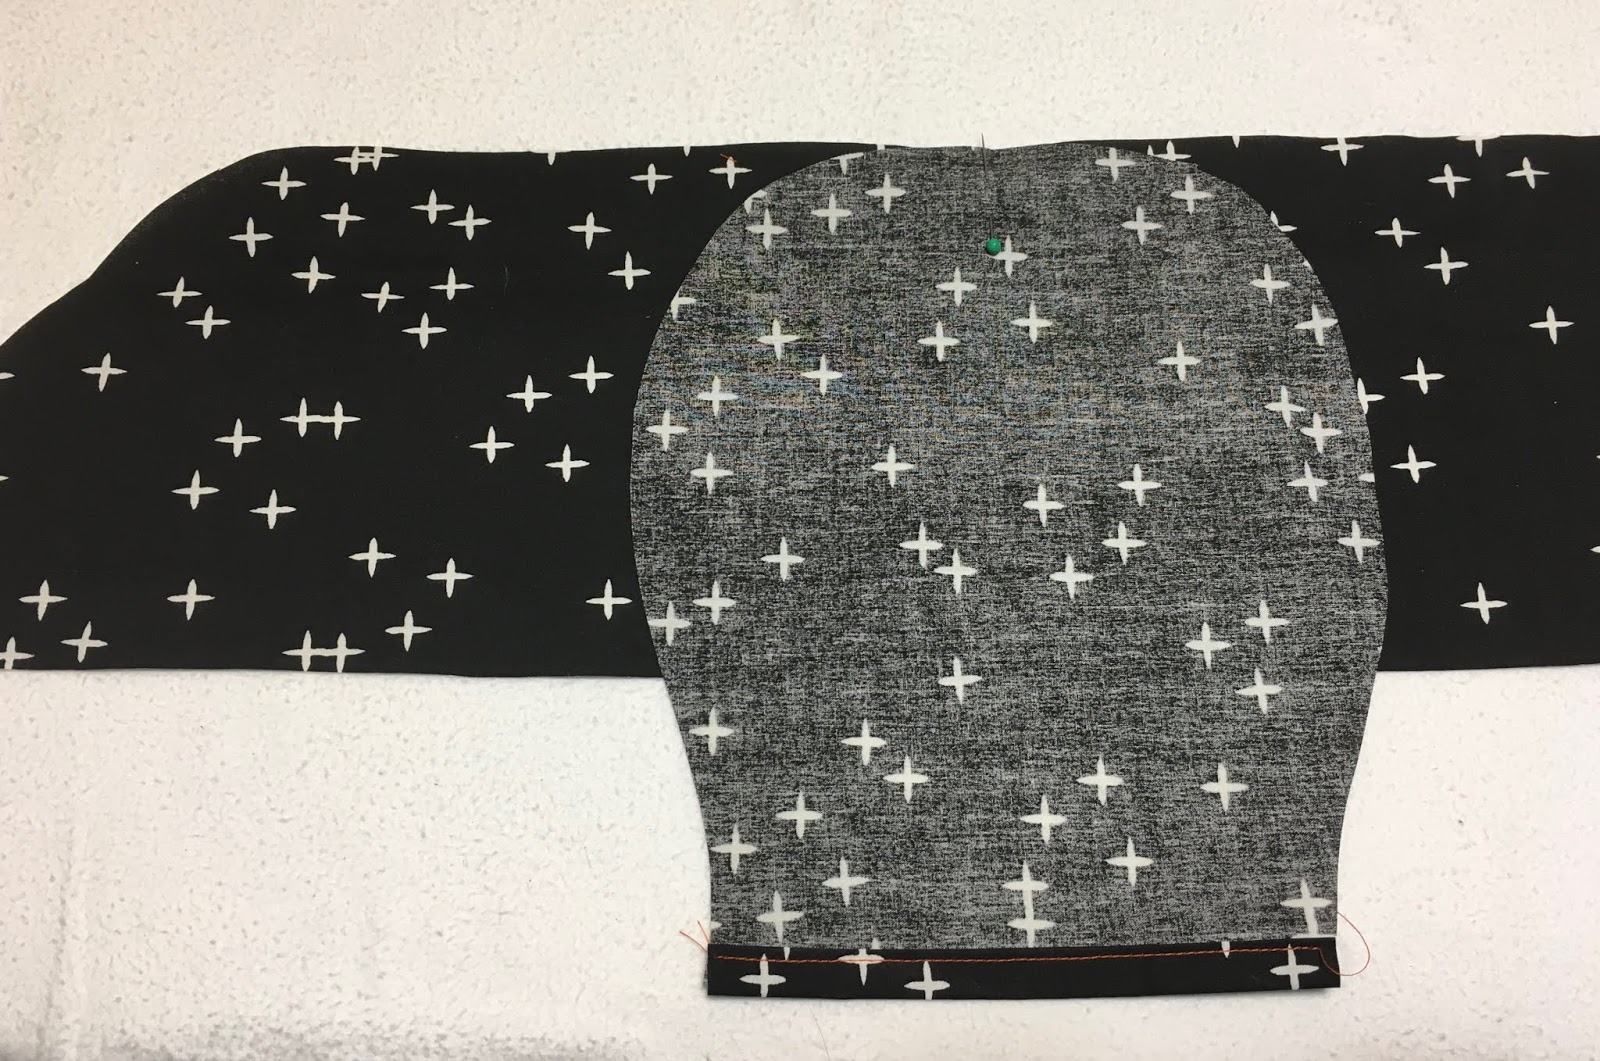
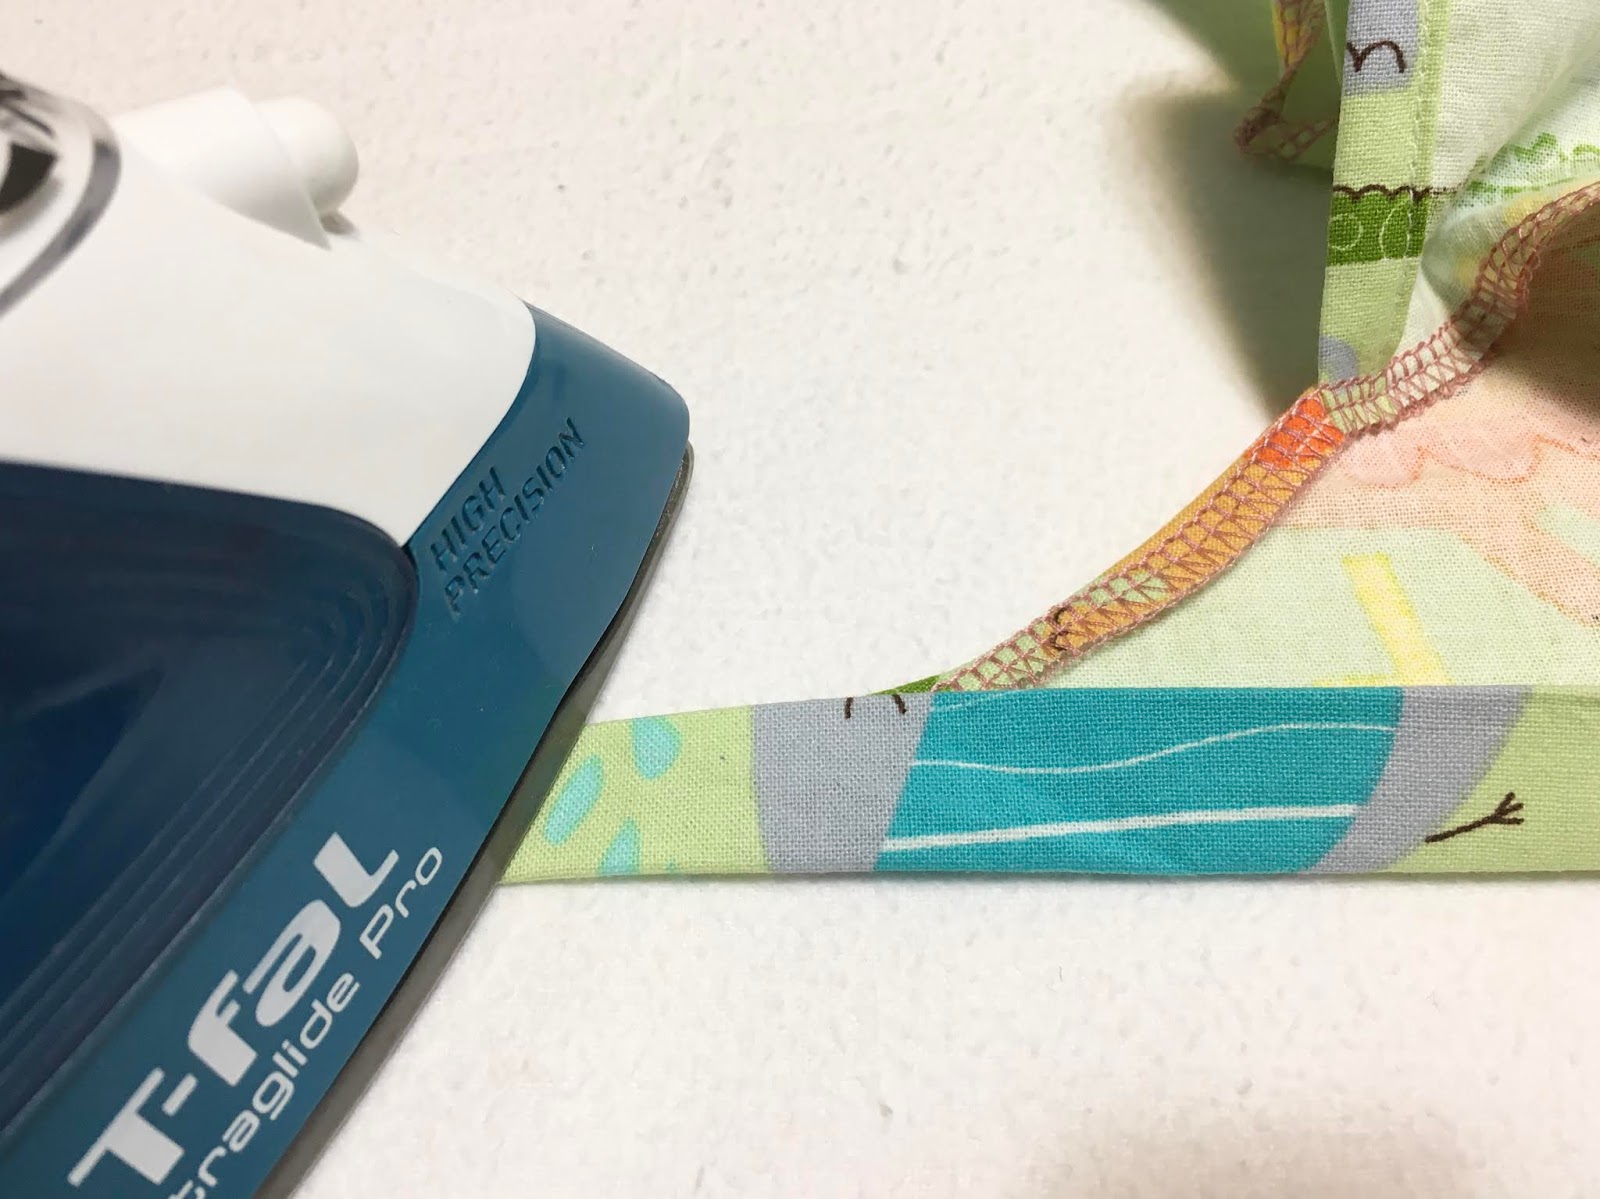
- Double fold back of Cap Top (Piece 2) and sew: Fold over the flat edge 1/4" to the wrong side and press, then fold another 3/8" and press. Sew a straight line across this folded edge. If you are using elastic in the back for a closer fit, thread it through this opening and baste at each edge. Elastics can make for a more snug fit, but are also prone to breaking down after repeated washings in hot water (like when they are sanitized frequently for hospital use) - so you can choose whether or not to use it in yours.

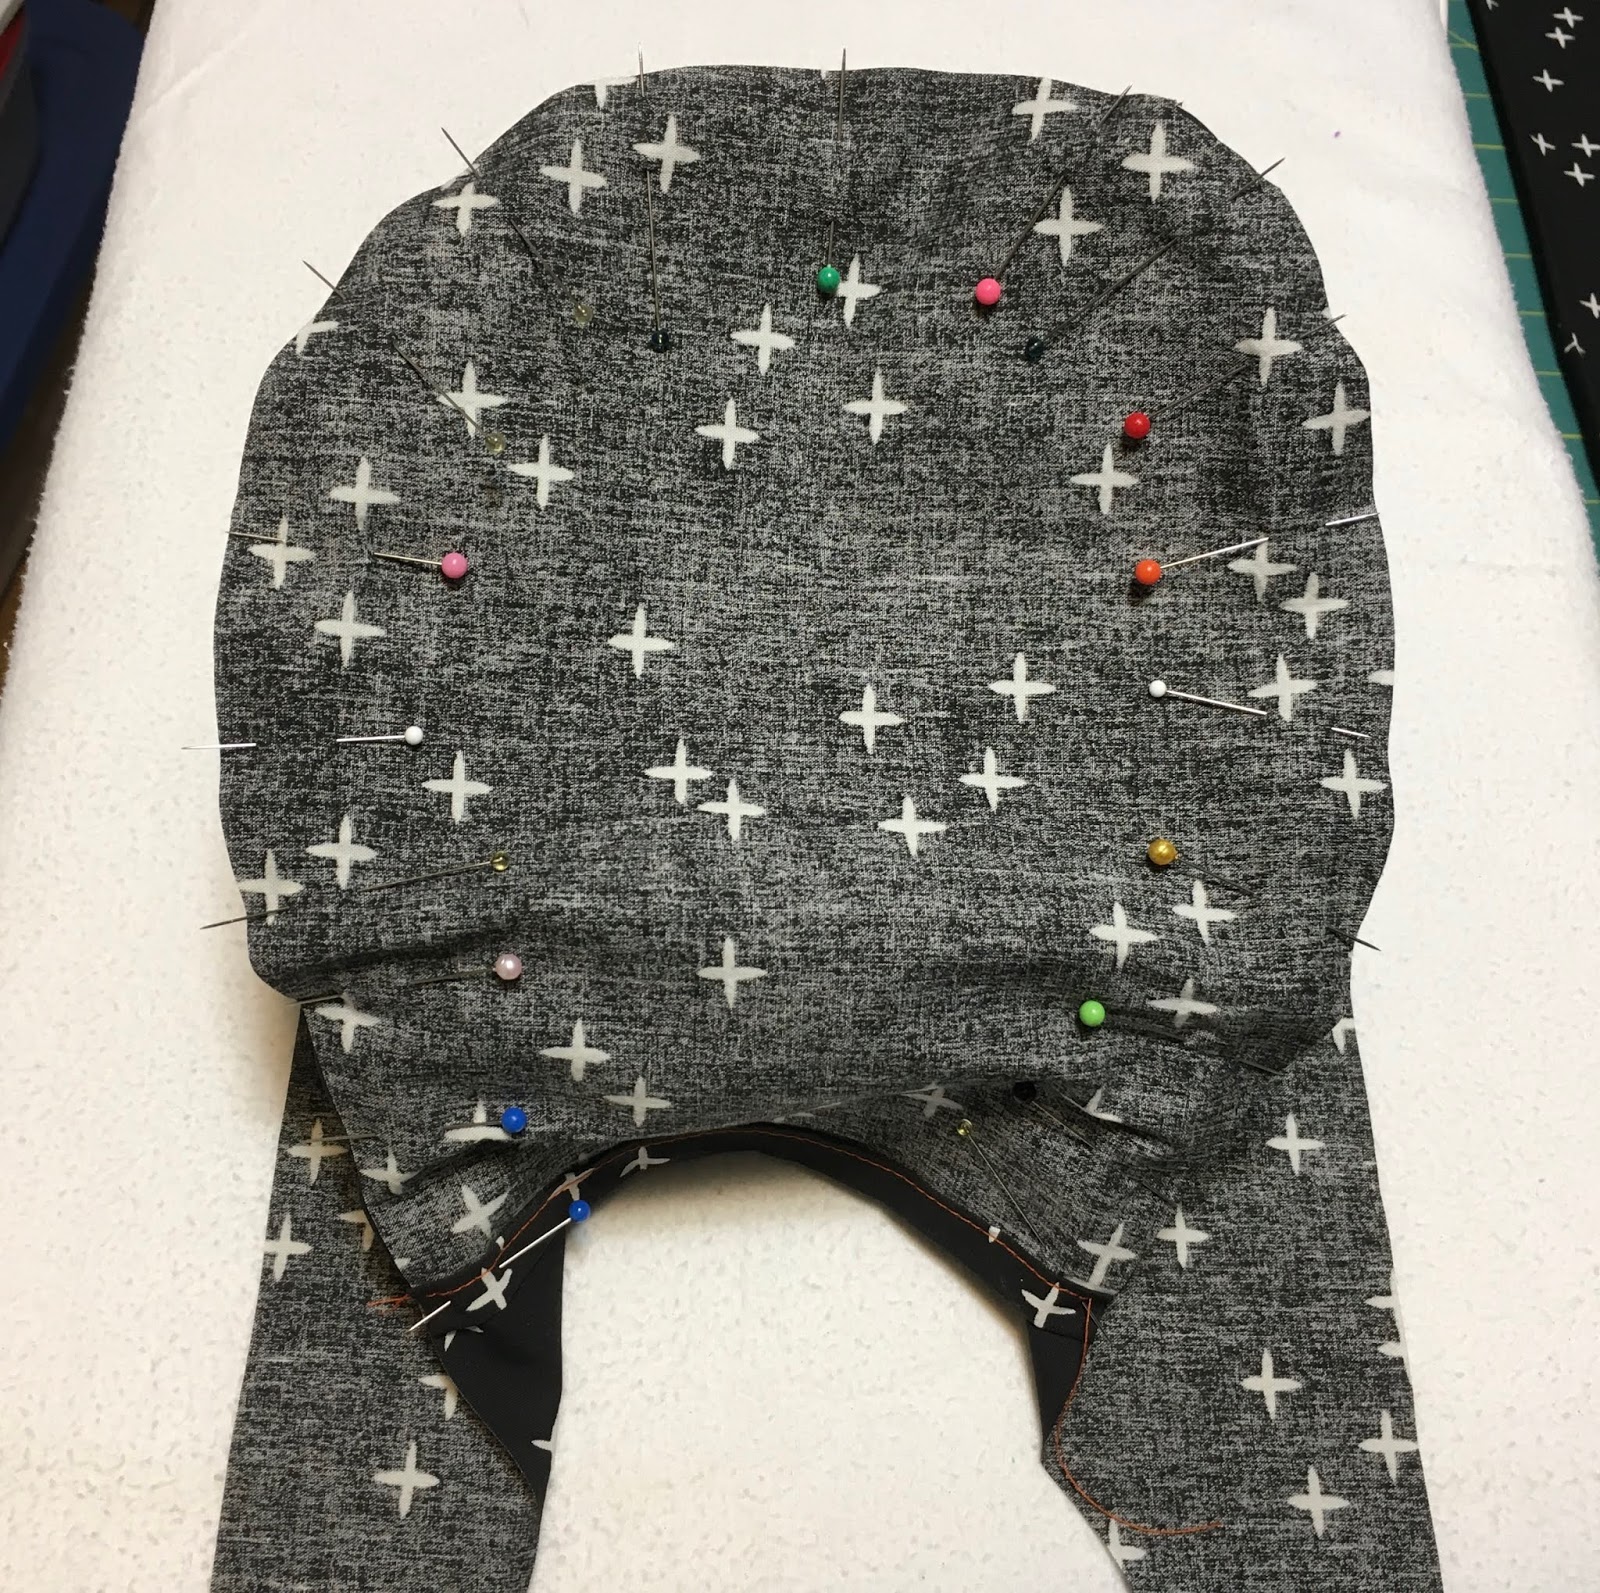
- Attach Cap Top (Piece 2) to Cap Side (Piece 1): With right sides together, line up the centre front of both pieces and pin, then continue pinning along the curved edge of the Cap Top all the way around each side. With a 1/4"-3/8" seam allowance (it doesn't need to be precise), sew with a straight stitch all the way around, backstitching at the beginning and end of the seam. (Optional: if you have a serger, serge this edge all the way around, beginning and ending a couple of inches before and after the curved part of the side piece.)


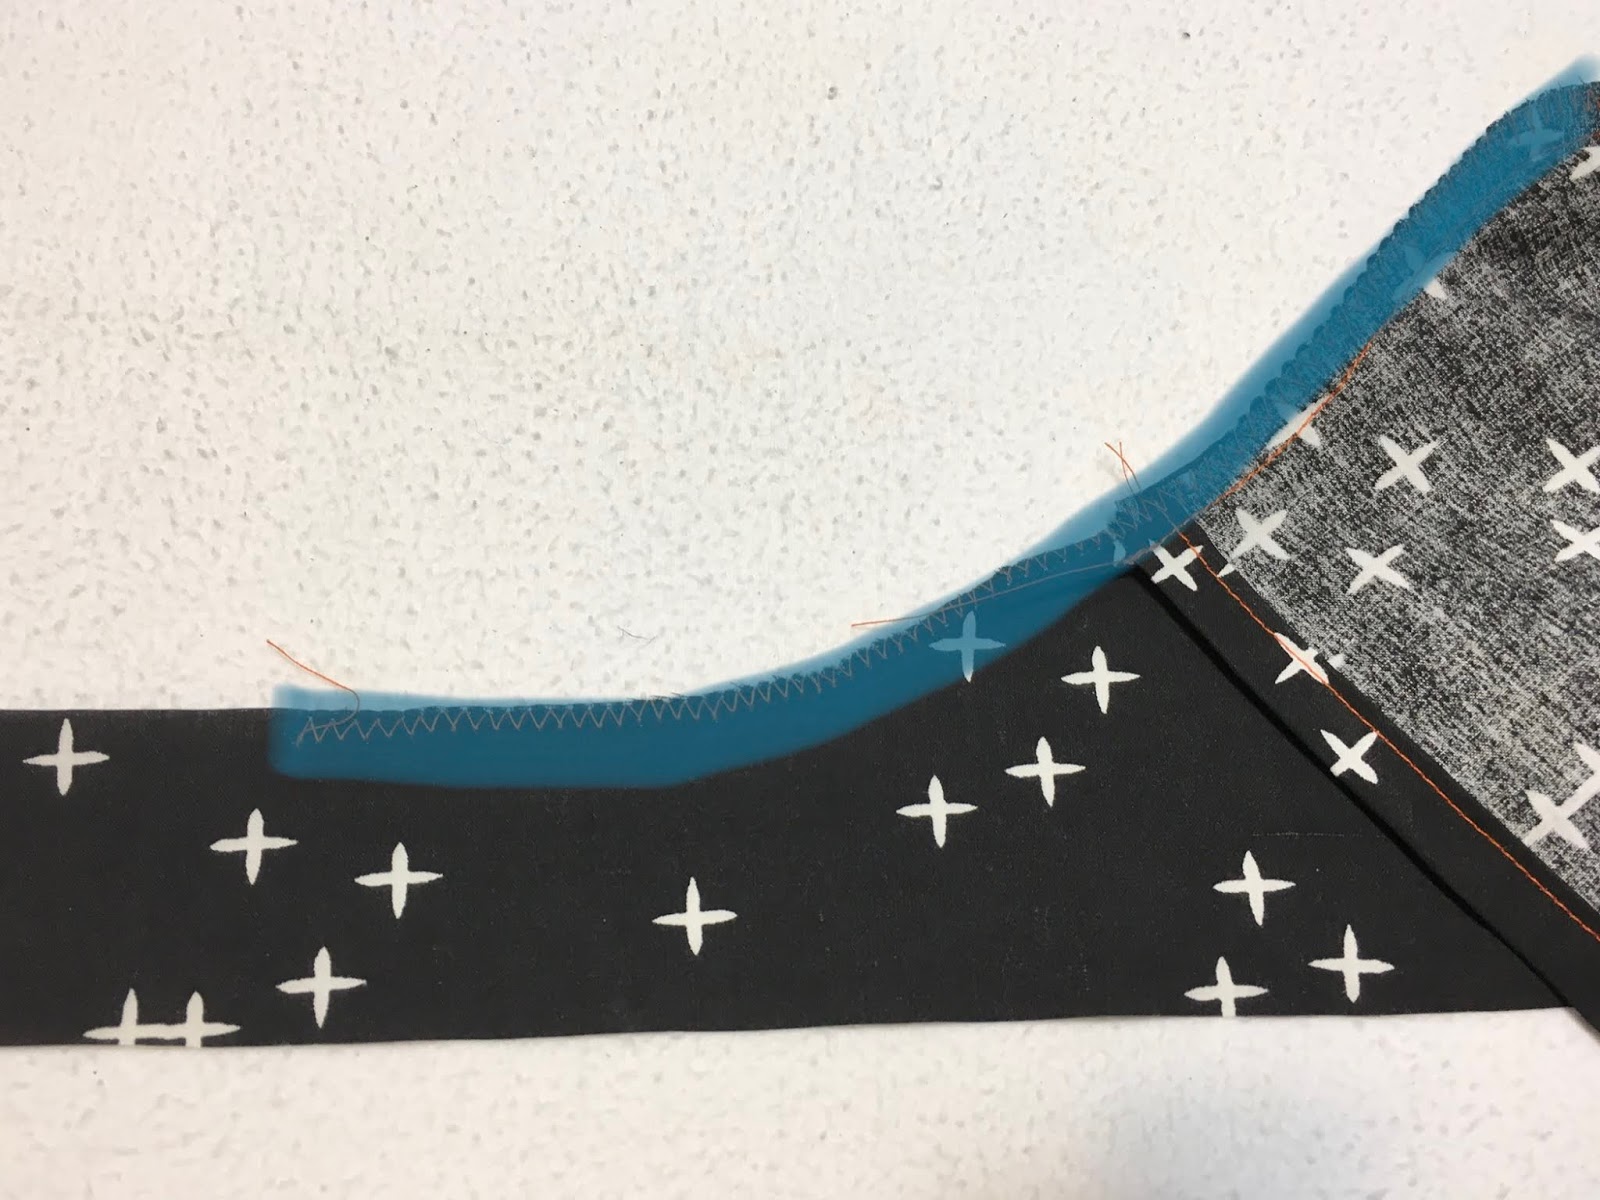
- Finish this seam with a zig zag or overlock stitch: Start and stop sewing a few inches before and after the curved part of the side piece (shown as a blue line in the photo below). Zig zag stitch all along the edge of this seam to finish it and prevent fraying.

 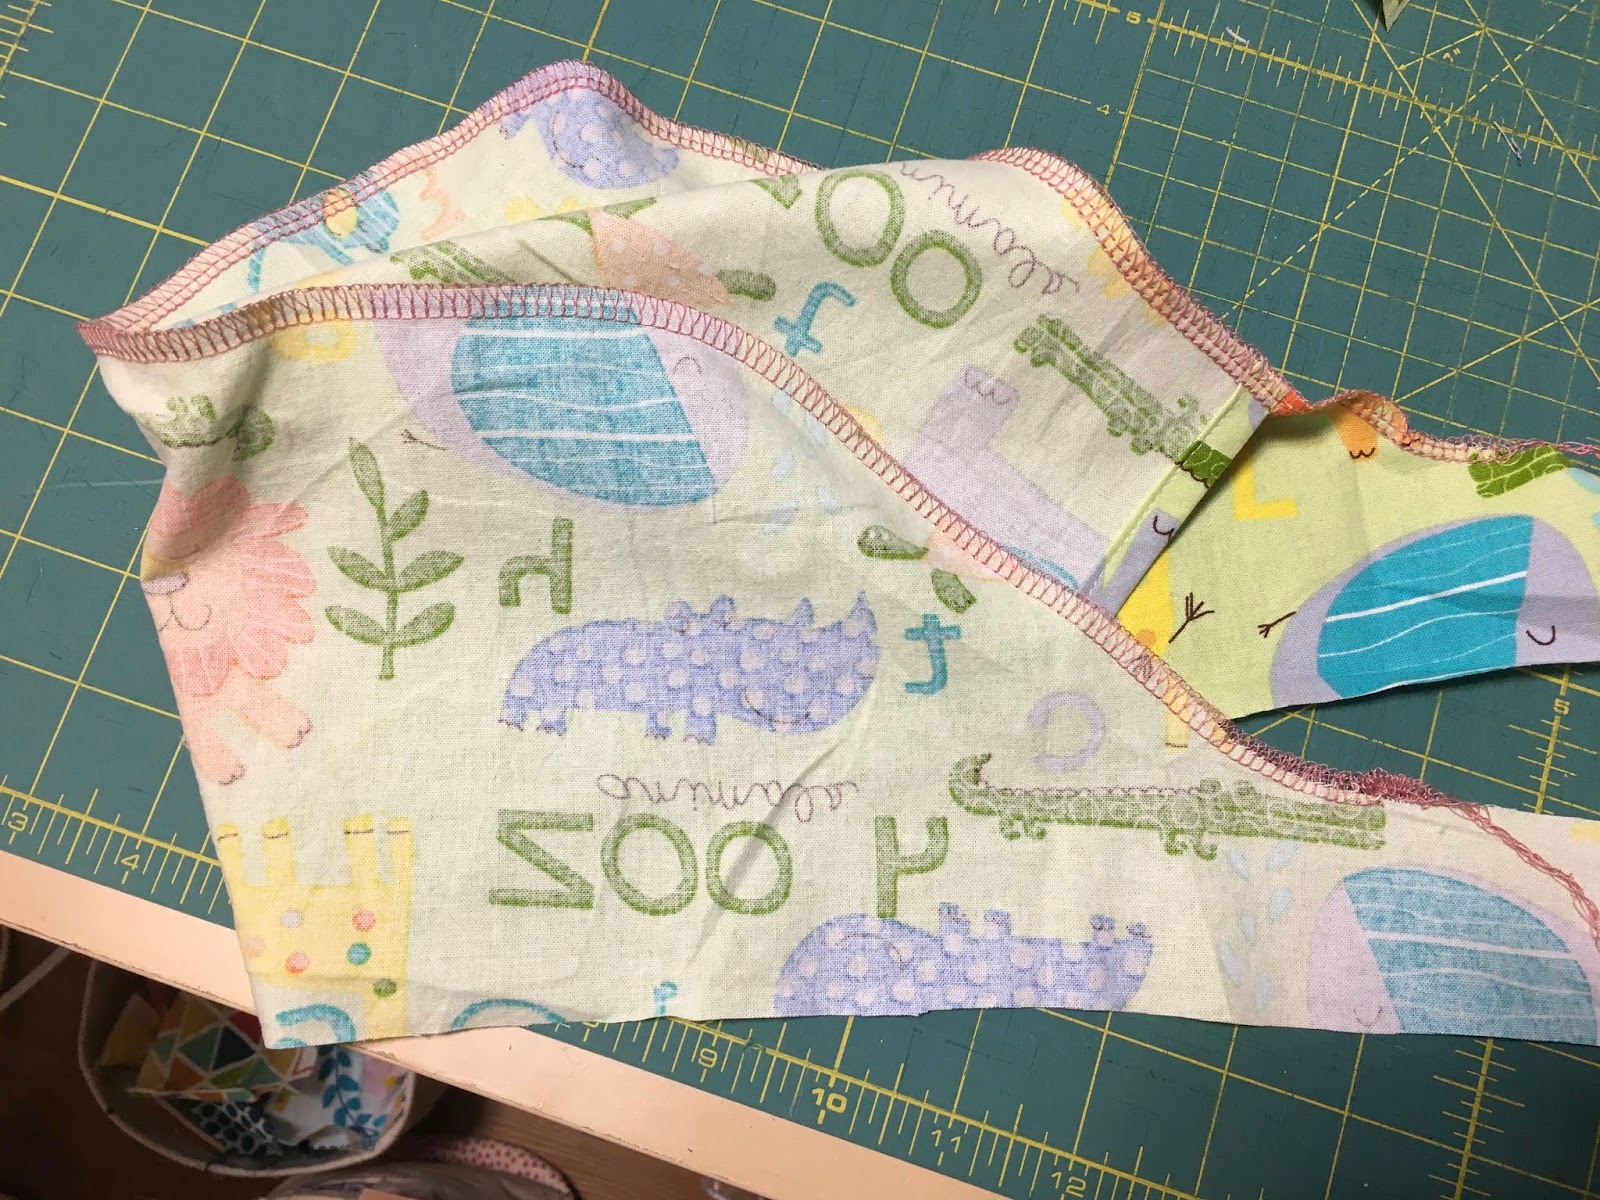
|
| Cap with serged edges (starting and finishing beyond the curved part of the pattern piece) |


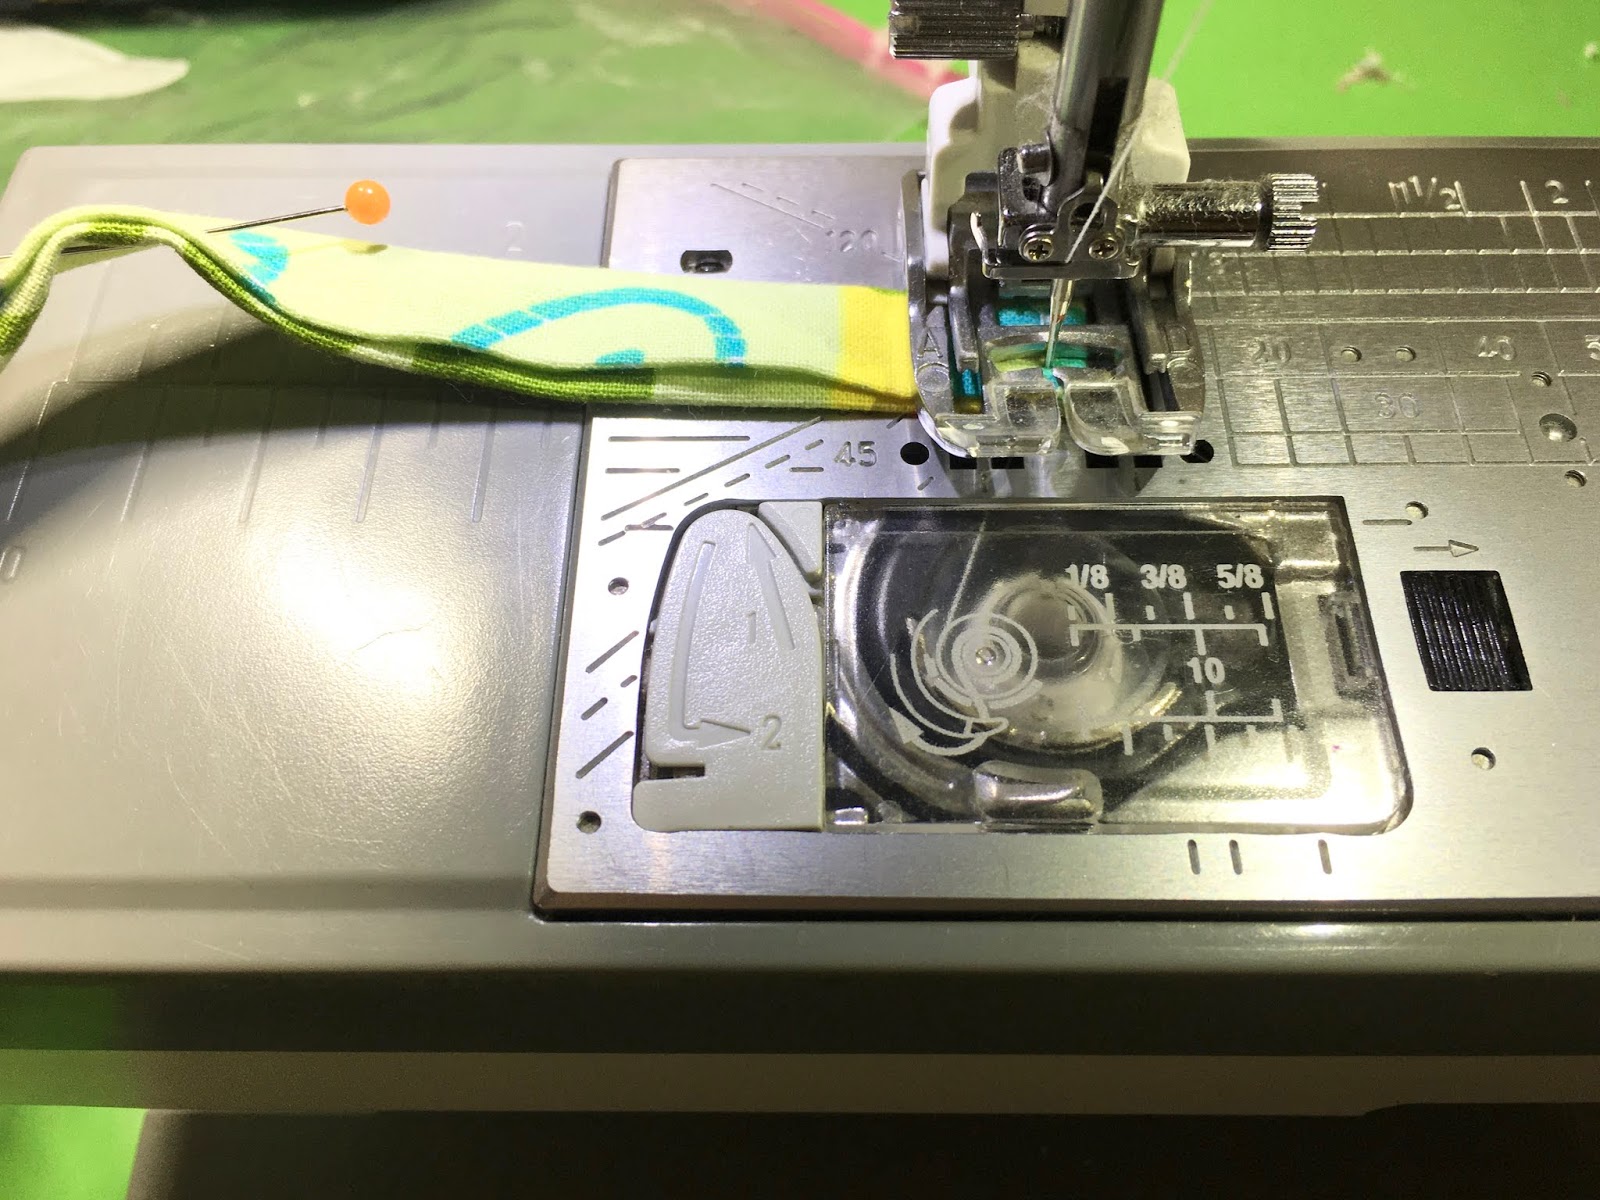
8. Beginning at the end of one tie, with the open edge facing towards you, sew along the open end of the tie, then along open top edge of the tie piece.
 |
||||
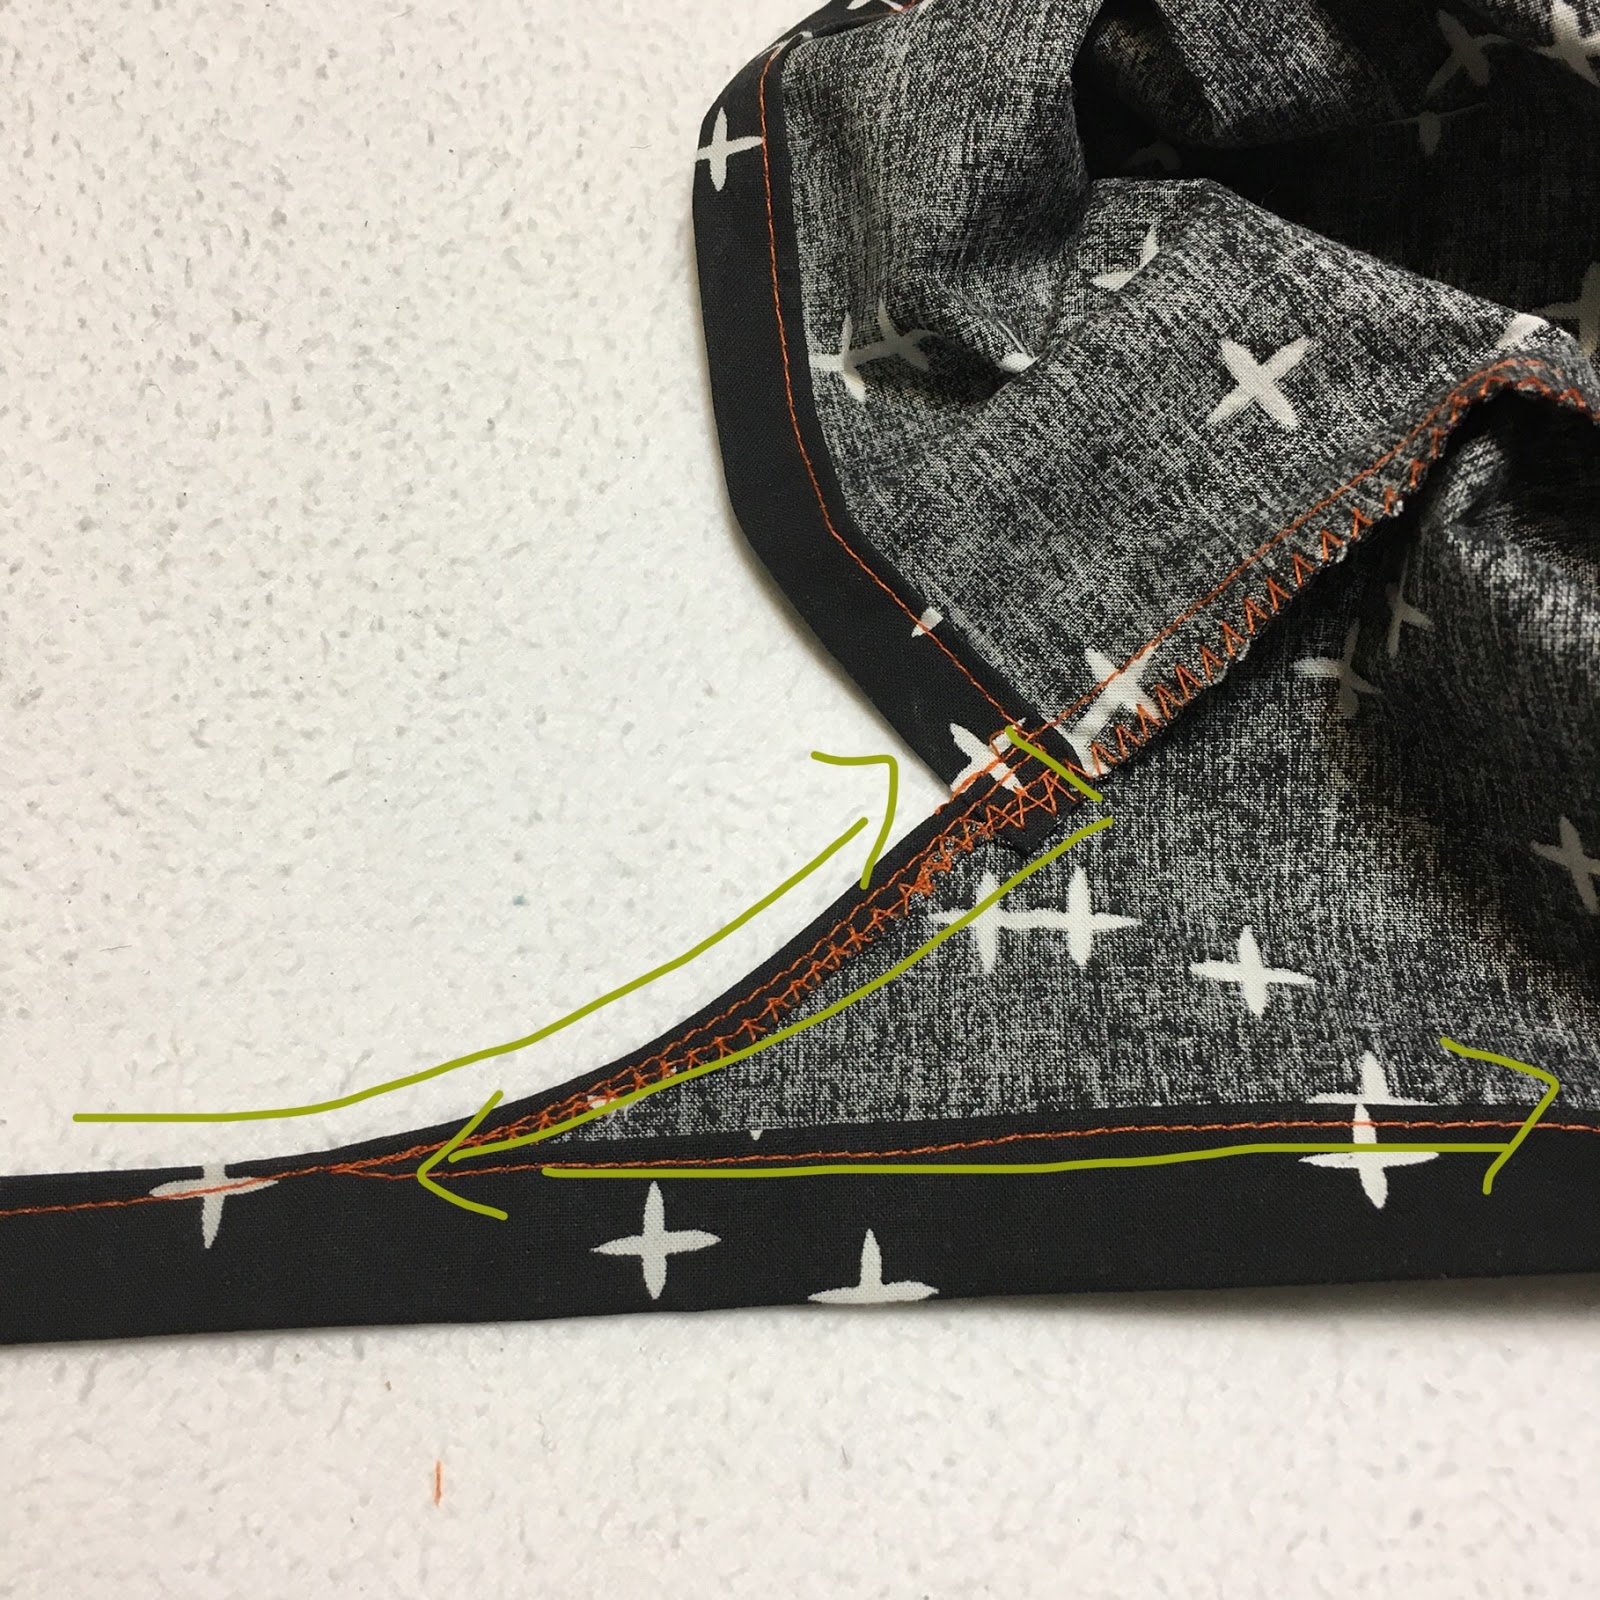
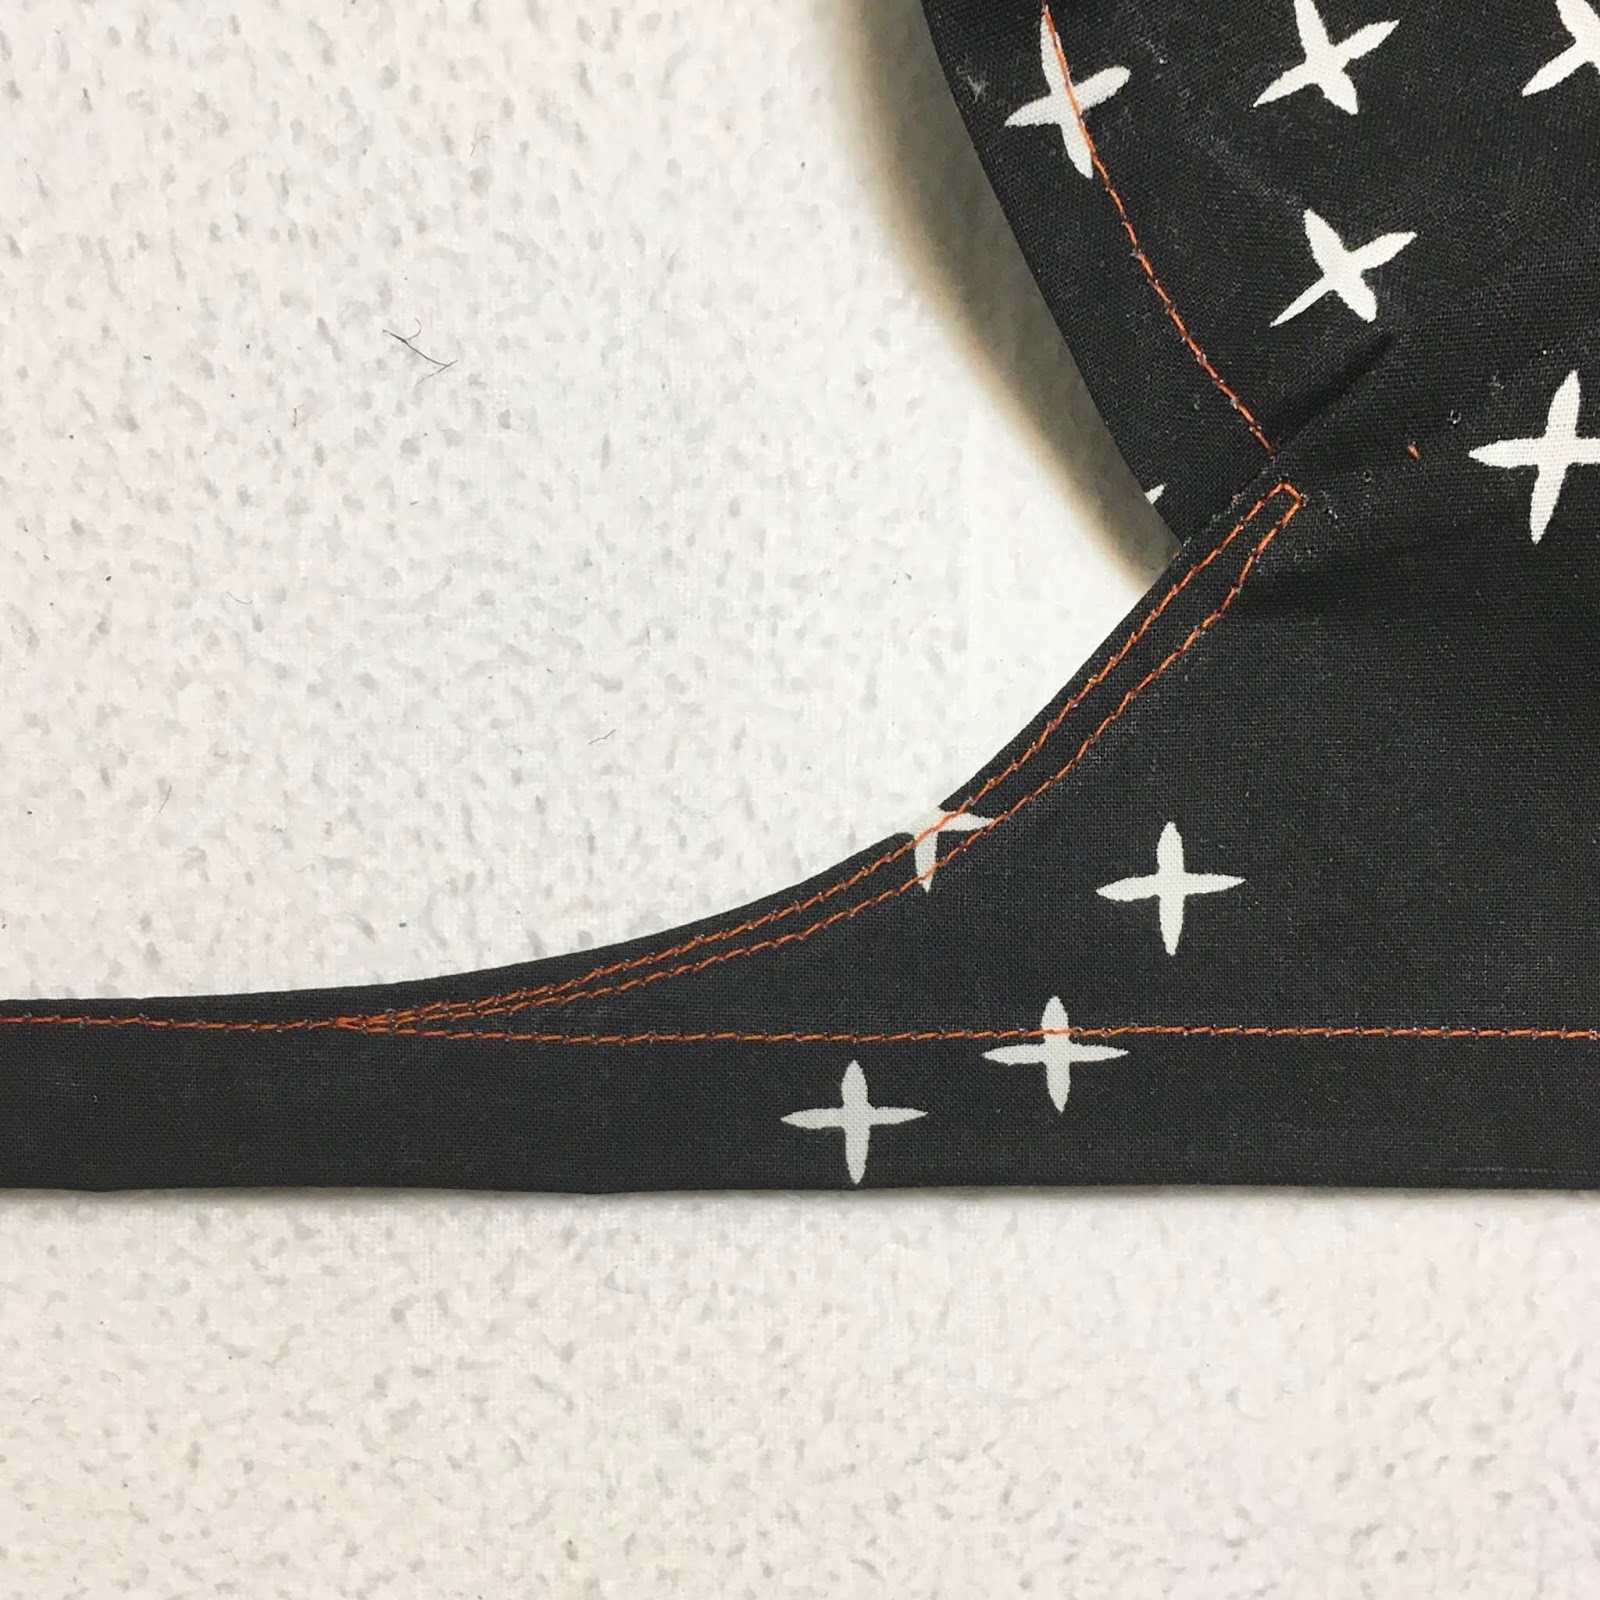
| Start sewing down one open end of the tie. Continue along the open top edge of the tie until you get to the curved edge (see below). When you get to the curve, veer off and sew up the curve as far as the hem at the back of the top piece, then with your needle down in the fabric, pivot the cap to sew back down the curve until you meet your original stitching line (see photo with messy green arrows below). Pivot your cap (again with your needle down) and continue sewing around the entire hem of the cap until you get to the curve on the other side of the cap. Veer off again to sew this one the same way you did the first one. (See photo below and/or the video tutorial - this part will make sense when you see it!)
|